 how-to
How to Design Custom Metal Workshops
Table of Contents
- Define Your Workshop Purpose and Intended Use
- Metal Workshop Size Guide: Choosing Building Dimensions
- Metal Workshop Layout Ideas for Efficient Workflow
- Plan Door Placement, Access, and Equipment Movement
- Select Your Building Location and Prepare the Site
- Metal Workshop Building Plans: Roof Style and Structural Design
- Use a Metal Building Design Tool to Visualize Your Workshop
- Customize Exterior Materials, Panels, and Colors
- Frequently Asked Questions
Last Updated: October 18, 2026
Define Your Workshop Purpose and Intended Use
When you design custom metal workshops, start by defining exactly what you'll use the space for, a hobby garage, professional repair shop, or storage facility. That answer shapes every decision that follows.
Consider these common workshop purposes:
- Automotive repair, needs lift bays, tool storage, and strong flooring
- Woodworking, requires dust collection, tool racks, and organized material storage
- Metal fabrication, demands heavy-duty flooring, equipment access, and ventilation
Purpose also affects codes and permits, some uses need specific electrical capacity, ventilation, or safety features. Knowing it upfront prevents costly redesigns.
Metal Workshop Size Guide: Choosing Building Dimensions
Size depends on equipment, workflow, and future growth. Too small is cramped; too large wastes energy.
Measure your largest equipment and add workspace around it. A typical automotive lift needs 12 feet of width and 20 feet of length for the bay, plus room to move around it.
Common metal workshop dimensions:
| Purpose | Width | Length | Height |
|---|---|---|---|
| Small hobby shop | 20 ft | 24 ft | 12 ft |
| Single-vehicle garage | 24 ft | 24 ft | 12-14 ft |
| Two-vehicle shop | 30 ft | 30 ft | 14 ft |
| Commercial repair | 40 ft | 50 ft | 16 ft |
| Equipment storage | 40 ft | 60 ft | 14 ft |
Height matters: 12-foot ceilings suit most workshops, but overhead cranes, tall equipment, or future expansion may require 14 or 16 feet.
Metal Workshop Layout Ideas for Efficient Workflow
The difference between a productive shop and a frustrating one comes down to clearances, aisle widths, and how far a worker walks to get a tool. Map the workflow before drawing a single wall.
Start With a Workflow Map, Not a Floor Plan
Pick the most common task your shop performs and trace it step by step. An automotive bay might run: vehicle enters → lift bay → tool cart → parts bench → diagnostic station → exit.
Write each step on a sticky note, arrange them in work order, then convert that sequence into floor space. Aim for a straight-line or L-shaped flow where material never backtracks through a finished-work zone, backtracking is the most common cause of congestion in small shops.
Clearances That Actually Matter
Confirm these planning targets against your equipment manufacturer's requirements and local code:
- Primary aisle (main traffic path): 4 to 6 feet wide for personnel and carts; 10 to 12 feet if forklifts or vehicles share the path.
- Workbench clearance: 3 to 4 feet of open floor in front of a bench so a worker can step back and swing materials.
- Equipment service clearance: most machinery manufacturers specify 24 to 36 inches on service sides for access panels and maintenance; check the manual for each machine.
Task-Specific Layout Patterns
Different tasks produce different layout logic. A few patterns worth borrowing:
- Automotive repair: put lifts in a row along one wall with a shared tool and fluid station between bays. Keep diagnostic and computer equipment away from grinding and welding dust.
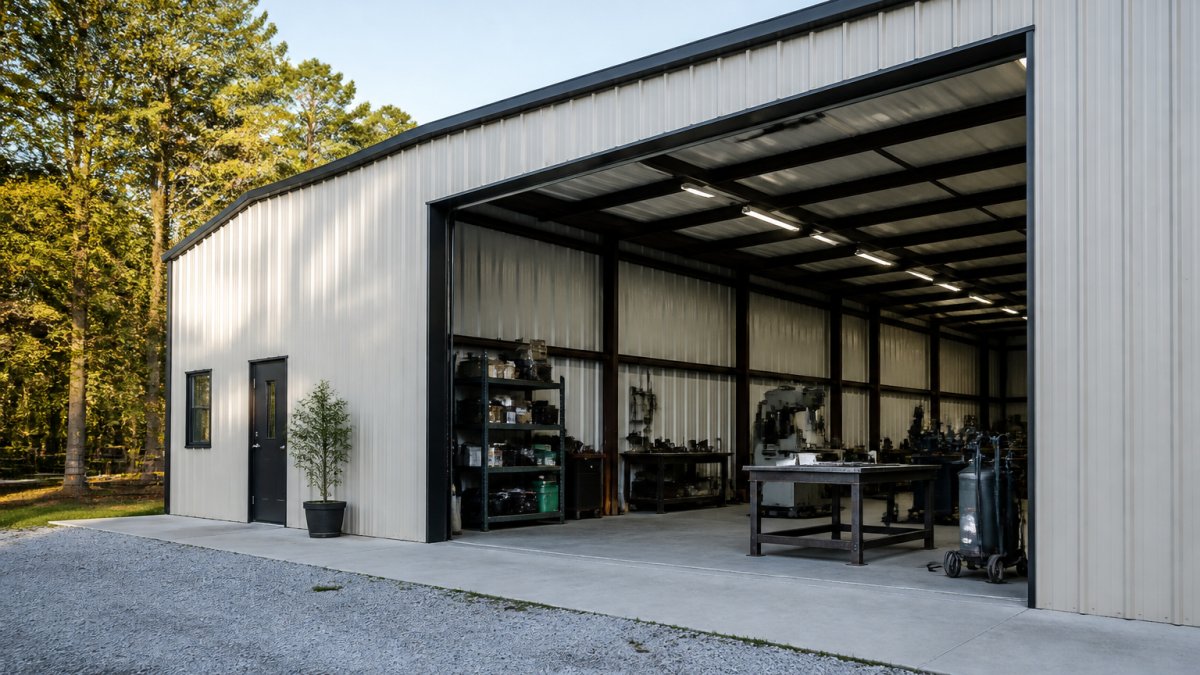
- Metal fabrication: arrange cut → weld → finish in a straight line. Place the welding table near the overhead door for fume exhaust and near the material rack to reduce carrying distance. Keep grinding away from precision measurement areas.
- Woodworking: centralize dust collection and run ducting before you finalize equipment placement; duct runs dictate where machines can sit.
Storage That Follows the Work
Storage should sit where the tool is used, not where it fits. Follow a "point-of-use" rule: every tool lives within a few steps of its main station, with central storage reserved for shared tools and consumables.
- Vertical storage: wall-mounted racks, pegboards, and shelving free floor space and keep tools visible.
- Heavy items low, light items high: keep heavy stock and equipment near floor level for safety and ease of handling.
- Material racks: store sheet and tube stock horizontally on racks rated for the load, positioned near the cut station.
- Consumables: keep fasteners, abrasives, and welding consumables in labeled bins near the stations that use them.
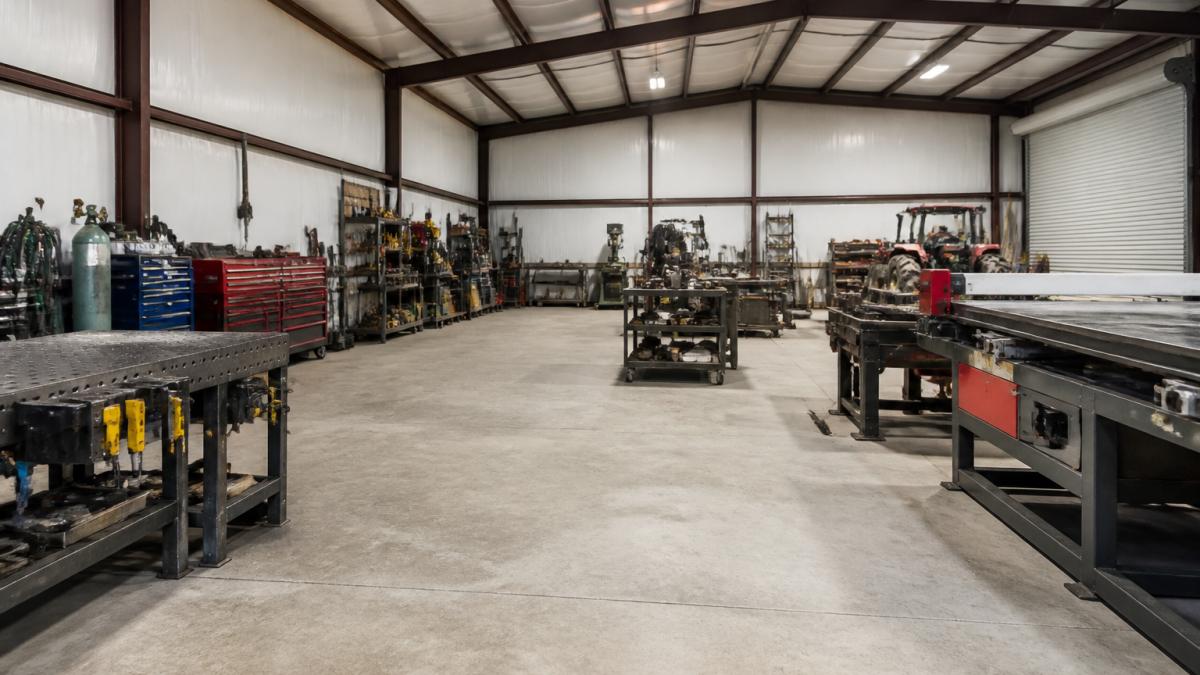
Plan the Layout Before the Slab Is Poured
Layout locks in once the foundation and utilities are placed. Mark equipment footprints with tape or chalk before construction, walk the workflow, and confirm doors, electrical drops, and ventilation openings line up. Moving a lift after the slab is poured costs far more than adjusting a drawing.
Plan Door Placement, Access, and Equipment Movement
Door placement determines how equipment and materials flow.
Door types for metal workshops:
- Overhead doors, best for equipment and large material movement
- Single entry doors, for personnel access
- Double doors, for larger deliveries and equipment
- Roll-up doors, for flexible opening sizes
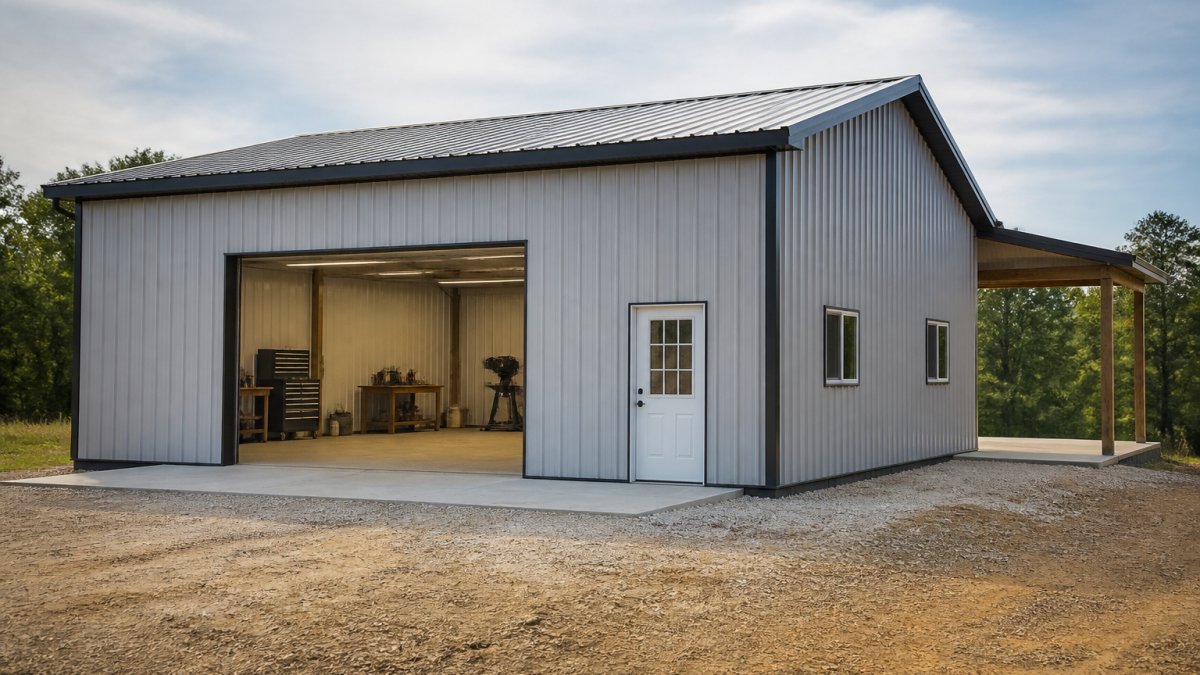
Size overhead doors to your largest equipment: measure the widest piece and add 2 feet of clearance on each side.
Position doors to avoid blocking workflow, ideally separating receiving from shipping doors to prevent congestion.
Concrete aprons outside doors keep mud and debris out, plan for them during site preparation.
Select Your Building Location and Prepare the Site
Location and site preparation are where most workshop projects quietly go over budget. Site work, foundation, and utility connections often drive a large share of the total, so plan them before committing to a location.
Zoning, Setbacks, and Access
Check local zoning first. Some jurisdictions restrict commercial or heavy-equipment use in certain districts, and many require setbacks from property lines, easements, or neighboring structures. Confirm allowed use, setbacks, and any HOA restrictions before finalizing a site.
Access matters as much as zoning: confirm delivery trucks, concrete trucks, and equipment trailers can reach the site and turn around. A narrow residential driveway complicates construction and daily use.
Utility Planning Before the Building Is Designed
Utilities are the most commonly underestimated part of site preparation. Decide early what the shop needs and where it enters:
- Electrical service: determine the amperage your equipment requires. A hobby shop with hand tools may run on a modest service; a shop with a welder, air compressor, and lift may need a significantly larger service and a dedicated panel. Confirm with a licensed electrician and the local utility.
- Water and waste: decide whether you need a utility sink, wash station, or restroom, and whether a septic system or municipal connection is required.
- Compressed air: plan the compressor location and piping runs before walls close. Locate the compressor away from work areas to reduce noise and provide ventilation.
- Data and communications: if the shop will have office space, diagnostic equipment, or security cameras, plan conduit and data runs during construction.
Bring utility locations into the site plan so trenching, conduit, and slab penetrations happen once, not twice.
Drainage and Grading
Water is the most common cause of foundation and equipment problems. Grade the site so surface water drains away from the building, and plan gutters and downspouts to discharge well away from the slab. In poorly drained areas, a licensed engineer may recommend additional measures.
Soil, Foundation, and Slab Design
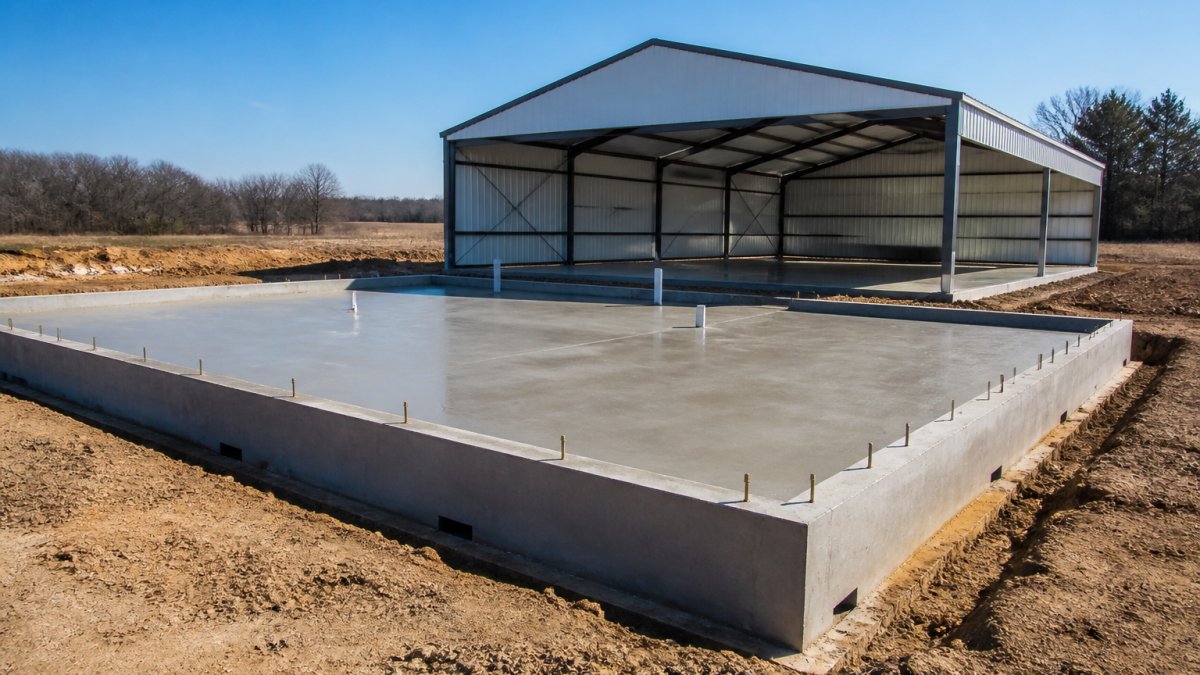
Soil conditions drive foundation cost and design. Soft or expansive soils may require deeper footings, reinforced slabs, or engineered fill. Rocky soil may require different excavation methods. A soil test and, where required, an engineer's foundation design are the reliable way to size the slab and footings.
Slab design also depends on use: a workshop holding a vehicle lift, heavy machinery, or loaded material racks needs thickness and reinforcement specified for those loads.
Climate and Exposure
Site orientation affects comfort and operating cost. Doors facing the prevailing winter wind lose heat every time they open, so orient them away from prevailing winds where possible. Sun exposure affects summer heat gain, and prevailing breezes matter if natural ventilation is part of the plan. In snow and wind regions, confirm the structural design meets local ground snow and wind load requirements.
A Site-Preparation Checklist
Before construction begins, confirm the following are resolved:
- Zoning and allowed use confirmed
- Setbacks and easements verified
- Vehicle and delivery access confirmed
- Electrical service size and entry point determined
Resolving these before the building is ordered prevents the most expensive kind of change: the one after the slab is poured.
Metal Workshop Building Plans: Roof Style and Structural Design
Your roof style affects weather protection, interior height, and cost.
Vertical roofs (also called straight-wall roofs) maximize interior space.
Sloped roofs have angled walls that meet the roof.
Metal buildings use steel frames and purlins (horizontal supports).
Roof pitch affects snow shedding and water drainage.
Your local climate determines appropriate roof design. Snow-heavy regions need steeper pitches.
Use a Metal Building Design Tool to Visualize Your Workshop
Before finalizing your plans, visualize your design. Many builders offer 3D design tools that show exactly what your workshop will look like.
These tools let you:
- See your building from all angles
- Test different colors and materials
- Verify equipment fits in the space
- Check sight lines and workflow
A good design tool catches problems before construction starts. You might realize a door is in the wrong spot or equipment won't fit as planned.
Direct Southern Metal Buildings provides design visualization tools that let you customize size, doors, windows, and colors. You can see your exact building before ordering.
Customize Exterior Materials, Panels, and Colors
Your building's exterior affects durability, maintenance, and appearance.
Panel types:
- Standing seam, raised ribs for better water shedding
- Corrugated, traditional ribbed design, economical
- Smooth wall, modern look, easier to clean
Color affects temperature and visibility. Light colors reflect heat and stay cooler.
Trim and accessories complete the look.
Local climate influences material choice. Coastal areas need corrosion-resistant finishes.
Maintenance requirements vary by material. Some finishes require periodic touch-up. Others are virtually maintenance-free.
Direct Southern Metal Buildings lets you customize your building's appearance while maintaining durability and cost-effectiveness.
Frequently Asked Questions
How can I design my own metal workshop?
Start by defining your primary use and required dimensions, then sketch your layout with work zones and storage areas. Plan door and window placement for equipment access and natural light. Use a metal building design tool to visualize your custom metal workshops in 3D, adjust structural elements like roof style and ceiling height, and finalize colors and materials. Most providers, including Direct Southern Metal Buildings, offer design consultations to refine your plans before construction begins.
What size should a metal workshop be?
Workshop size depends on your intended use and equipment. A small hobby workshop typically ranges from 24x30 feet to 30x40 feet. A medium commercial shop might be 40x60 feet or larger. Consider future expansion needs and account for work zones, storage, and movement space. A metal workshop size guide should account for your equipment footprint, workflow patterns, and climate considerations. Consult with your building provider to ensure your dimensions accommodate both current and anticipated needs.
How do I plan an efficient metal workshop layout?
Organize your metal workshop layout ideas around three core zones: work area, storage, and staging. Position heavy equipment near load-bearing walls and doors for equipment access. Keep frequently used tools within arm's reach of work stations. Plan overhead space for tools and materials. Ensure clear pathways for movement and emergency egress. Allow adequate ventilation and natural lighting through windows and skylights. A well-planned layout reduces wasted motion and improves productivity.
How long does the design process take before construction?
The timeline varies based on complexity and customization. Basic designs with standard options typically take 1-3 weeks from initial consultation to final approval. Custom designs with site-specific requirements, utility planning, and permit coordination may take 4-8 weeks. Early collaboration with your building provider, including site surveys and clear specifications, accelerates the process. Direct Southern Metal Buildings works with you to balance thorough planning with timely delivery.