 how-to
How to Plan a Metal Workshop Layout: Step-by-Step Guide
Last Updated: October 23, 2026
Quick Summary
To plan a metal workshop layout, measure your building and draw a scaled floor plan at one square per foot before buying equipment. Then map material flow from delivery to finished piece, define cutting, welding, assembly and finishing zones, and plan utilities in phases.
- Draw your plan at one square to one foot and add a two-foot working clearance border around every machine.
- Keep the path from delivery door to storage short and straight so material moves one direction.
- Group the shop into five zones: cutting, preparation, welding, assembly, and finishing.
- In small shops, keep a main walkway of at least 36 inches, widening to 42 to 48 inches where carts roll.
- Map electrical and air needs before placing machines, since moving a welder after conduit is installed is a construction project.
Table of Contents
- Start with a Scaled Workshop Floor Plan
- Map Workflow and Material Flow Before You Move Anything
- Define Work Zones for a Metal Fabrication Shop Layout
- Place Machines, Storage, and Overhead Equipment
- Small Metal Workshop Layout Ideas That Maximize Space
- Build a Metal Workshop Safety Layout
- Plan Utilities, Budget, and Phased Implementation
- Frequently Asked Questions
Start with a Scaled Workshop Floor Plan
A metal workshop layout works best when you draw it before you buy anything.
At Direct Southern Metal Buildings, we see the same mistake again and again: owners order equipment first and figure out the floor plan later.
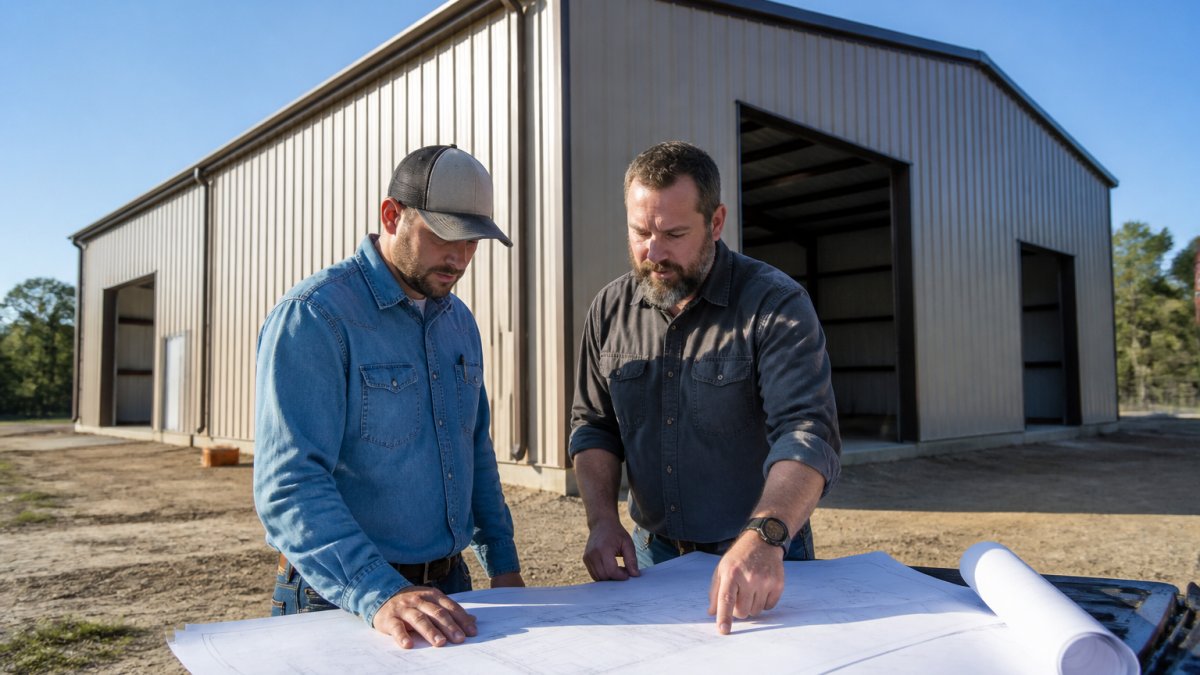
Here is a simple way to build the drawing:
- Measure the interior walls, door openings, and ceiling height.
- Mark columns, electrical panels, and any overhead obstructions.
- Cut paper templates for each machine and bench, sized to scale.
- Slide the templates around until the flow feels right.
- Tape the final version to the shop wall for reference.
The Occupational Safety and Health Administration publishes free guidance on shop floor planning and safe work practices worth reading before you commit.
Map Workflow and Material Flow Before You Move Anything
Material flow decides how productive a shop feels day to day.
Walk through a typical job in your head. Where does the steel come in? Where does it get cut?
A good workflow follows a few rules:
- Keep the path from delivery door to storage short and straight.
- Put cutting next to raw material, not across the room.
- Place assembly downstream of welding so finished work moves forward.
Think of production flow as a river. Material should move one direction, with as few bends as possible. When you reduce handling, output climbs and delivery dates get more predictable.
Define Work Zones for a Metal Fabrication Shop Layout
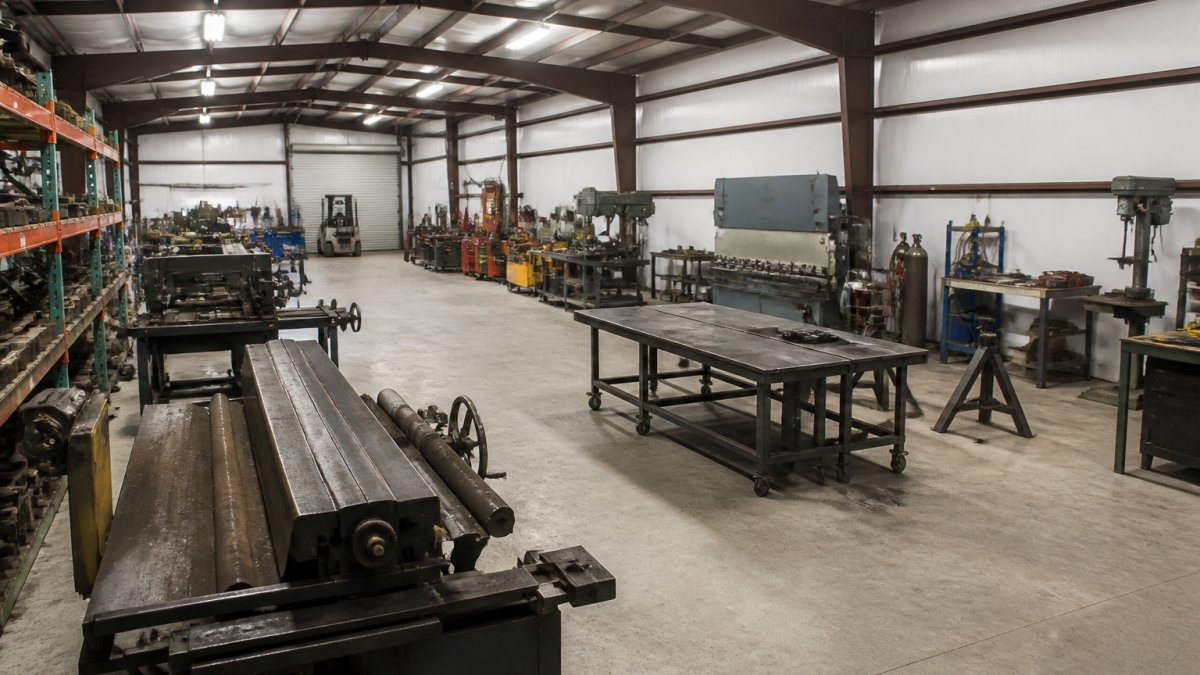
Every metal fabrication shop layout needs distinct work zones. Grouping similar tasks cuts travel time, keeps tools where you need them, and makes the whole shop easier to supervise. Five zones cover most shops: cutting, preparation, welding, assembly, and finishing.
Cutting and Material Preparation Zone
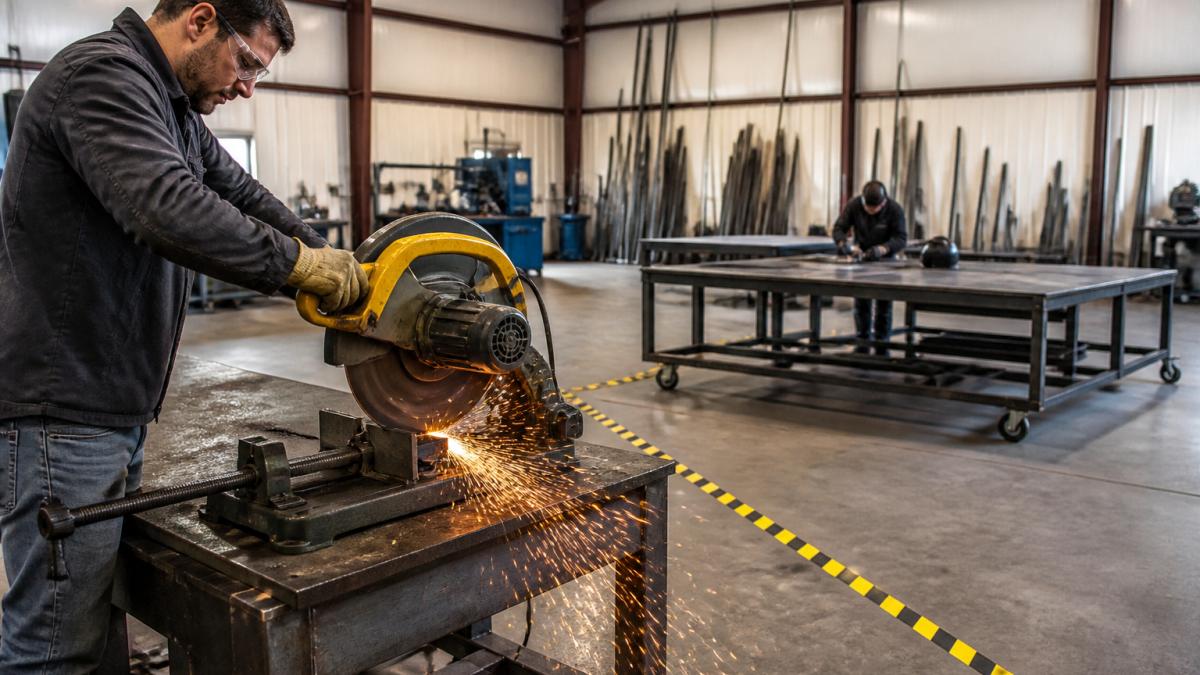
The cutting zone holds your cut-off saw, band saw, and material prep bench. Put it beside raw material storage so stock travels only a few steps to the blade. Keep sparks and offcuts contained, and mark the floor so nobody stores boxes in the cutting lane.
Welding, Assembly, and Finishing Zones
The welding area needs open floor and good ventilation, covered in the safety section below. Assembly tables sit next to welding so parts move straight from weld to fit-up. Finishing goes last, separated by a wall or curtain to keep dust off wet coatings.
Movable benches and wheeled storage units help here. You can shift them as jobs change without redrawing the whole plan.
Place Machines, Storage, and Overhead Equipment
Machine placement should follow the workflow, not the other way around. Heavy equipment like presses and shears belongs on the strongest floor and near the material they process.
Storage planning breaks into three parts:
- Raw material storage: racking near the delivery door, sized for full-length stock.
- Work-in-progress: small carts or tables between zones so jobs do not pile on the floor.
- Tool storage: shadow boards and rolling cabinets kept within arm's reach of each zone.
Overhead space matters too. If you plan to use a crane or hoist, keep that lane clear of lights, heaters, and ductwork. Equipment access needs room for maintenance, so leave a gap behind every machine you can walk into.
Small Metal Workshop Layout Ideas That Maximize Space
A small workshop rewards vertical thinking, but it also punishes guesswork.
Start with the numbers. A common pattern in small fabrication shops is a main walkway of at least 36 inches, with 42 to 48 inches where material is carried or a cart rolls through.
Try these space planning moves, sized for a small shop:
- Put the welding table on casters so it doubles as an assembly surface, and park it against a wall when not in use.
- Use fold-down benches along walls for occasional tasks; a 24-inch-deep fold-down bench clears the aisle when stowed.
- Store long stock horizontally overhead on wall brackets rated for the load, not leaning in corners where it falls.
Layout Examples by Shop Size
A home garage shop of roughly 20 by 20 feet can usually support one cutting zone, one combination welding and assembly table, and wall-mounted storage. The trick is to keep the center of the floor open and push everything to the perimeter. A small fabrication shop of roughly 30 by 40 feet can add a dedicated preparation bench, a finishing corner behind a curtain, and a short raw-stock rack near the overhead door.
Small shops also benefit from one honest rule: buy machines that fit the space, not the biggest ones you can afford. A compact band saw that sits against a wall often beats a large saw that eats your only aisle. The same logic applies to benches, racks, and carts: measure the route a piece takes from door to machine to finished rack, and let that route set the size of everything you bring in.
Build a Metal Workshop Safety Layout
Safety belongs in the floor plan from day one, not added later. A metal workshop safety layout keeps walkways clear, separates hot work from flammables, and gives everyone a fast route to the exit.
Start with these basics:
- Mark gangways and walkways with floor tape and keep them empty.
- Keep clear floor space around every machine and exit.
- Place fire extinguishers near welding and finishing areas.
Ventilation, Fume Extraction, and Emergency Access
Welding fumes and grinding dust need to leave the building. Fume extraction at the source, plus general ventilation, keeps air cleaner and workers healthier.
Emergency access deserves its own check. Every exit stays clear, doors open freely, and the path out is obvious even with the lights low.
The National Institute for Occupational Safety and Health offers detailed guidance on welding fume control and shop ventilation that is worth building into your plan.
Plan Utilities, Budget, and Phased Implementation
Utilities shape the layout as much as machines do, and they are the most expensive thing to change after equipment lands. Map your electrical drops, compressed-air lines, and any water or gas runs before you commit to a floor plan. Putting a welder where there is no power means running conduit later, and that is money and downtime you did not plan to spend.
Build a Utility Map
A utility map is a second drawing laid over your scaled floor plan. On it, mark three things: what exists today, what each machine needs, and where the runs will go.
- List every machine's power and air needs: voltage, amperage, plug type, and air volume and pressure.
- Mark existing outlets, drops, panels, and air lines on the plan.
- Group high-draw equipment near the panel to shorten runs and reduce voltage drop.
- Run air lines overhead with drops at each zone, pitched slightly so moisture drains away from tools.
- Leave spare capacity and spare floor space for future machines.
Lighting belongs on the same map. Task lighting over benches and cutting stations matters more than general ceiling fixtures, and welding screens change how light reaches the rest of the shop.
Budget and Phased Implementation
Budget and phasing keep the project realistic. You rarely need every bench and rack on day one. A common pattern is to build the core zones first, then add storage and finishing as work demands.
A practical sequence looks like this:
- Phase one: core cutting, welding, and assembly zones, plus the main aisle and safety basics.
- Phase two: raw-stock racking, work-in-progress carts, and tool storage within reach of each zone.
- Phase three: finishing area, extra ventilation, and any crane or hoist access.
Before you move equipment, validate the plan. Walk the route a typical job takes with a tape measure and a chalk line, or use a simple grid template or CAD drawing to test material routes.
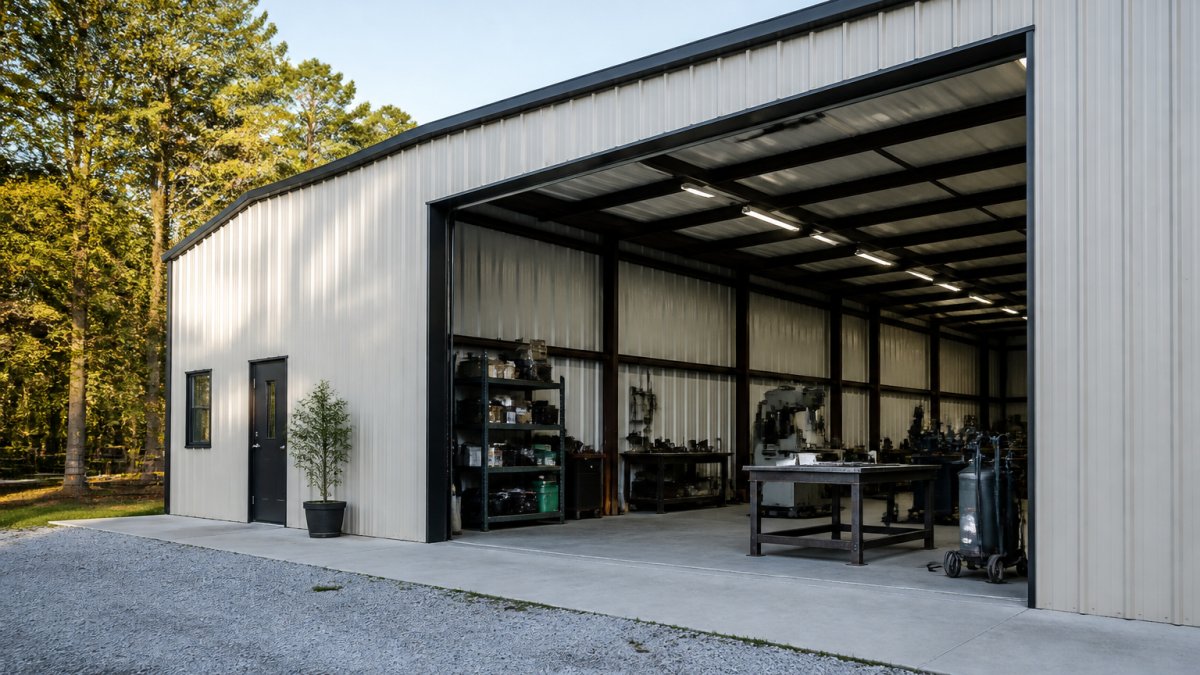
This is where the building shell itself matters. Direct Southern Metal Buildings designs custom workshops with the door placement, ceiling height, and open span that a real layout needs. We tailor size, doors, windows, and colors around your property and plans, so the structure fits the work instead of the work squeezing into the structure.
Frequently Asked Questions
What is the ideal size for a small metal workshop?
There is no single ideal size, but a small metal workshop layout usually needs enough floor space to separate cutting, welding, and assembly without crowding. As a starting point, measure your largest project and the longest stock you handle, then add clearance for machine access, material handling, and walkways. A shop that feels tight before equipment is installed will feel worse once steel racks and workbenches go in, so plan for growth rather than filling every square foot on day one.
How should metalworking machines be arranged in a workshop?
Arrange machines in the order material moves through the shop: cutting first, then preparation, welding, assembly, and finishing. Place the cut-off saw and bandsaw near the large door so long stock feeds in without crossing the whole floor. Keep welding tables central to the fabrication area and finishing equipment at the exit end. Leave clear access around every machine for loading, maintenance, and safe operation, and group tools by the zone where they are used most.
How much space should you leave around workshop equipment?
Leave enough room to walk, turn, and handle material safely around each machine. A practical rule is to keep walkways clear and unobstructed, and to leave working clearance on the infeed and outfeed sides of saws, presses, and welding tables so long pieces do not hit walls or other equipment. Measure your longest material and add that length to the machine footprint. Mark these clearances on your workshop floor plan before installation so you catch conflicts early.
What safety features should a metal workshop layout include?
A metal workshop safety layout should include clear, marked walkways, separation between hot work and flammable storage, fume extraction at welding stations, and unobstructed emergency exits. Keep fire extinguishers visible and reachable, store compressed gas cylinders upright and secured away from cutting sparks, and position equipment so operators are not exposed to traffic paths. Good lighting and smooth, level floors also reduce trips and improve safe material handling throughout the shop.
Planning a metal workshop layout is part strategy, part patience. The owners who get it right draw the plan first, map the flow, and leave room to grow.
If you are ready to build a shop that fits your layout instead of fighting it, Direct Southern Metal Buildings can help. We offer custom sizes, flexible door and window placement, and colors to match your property, all designed around your plans and budget. Get a free quote and start with a building made for the way you work.